How to Take Professional Photos at Home: DIY Guide Before Using AI Headshots
June 17, 2026
Taking professional-looking photos at home is easier than most people think. With the right setup and a few simple techniques, you can capture headshots that work well for AI enhancement services.
Why Good Source Photos Matter for AI Headshots
AI headshot tools rely heavily on the quality of your input images. Clear lighting, sharp focus, and a neutral expression give the algorithm better material to work with.
Poor source photos often lead to unnatural results, so spending 20–30 minutes on setup makes a big difference.
Choose the Right Space and Background
Find a room with a plain wall or a simple backdrop. A white, light gray, or beige wall works best. Avoid busy patterns or clutter that can distract from your face.
Stand at least three feet away from the wall to create subtle depth and avoid harsh shadows.
Quick Background Tips
- Use a bedsheet or curtain if your walls are textured
- Keep the background two stops darker than your face for separation
- Remove any visible furniture or personal items from the frame
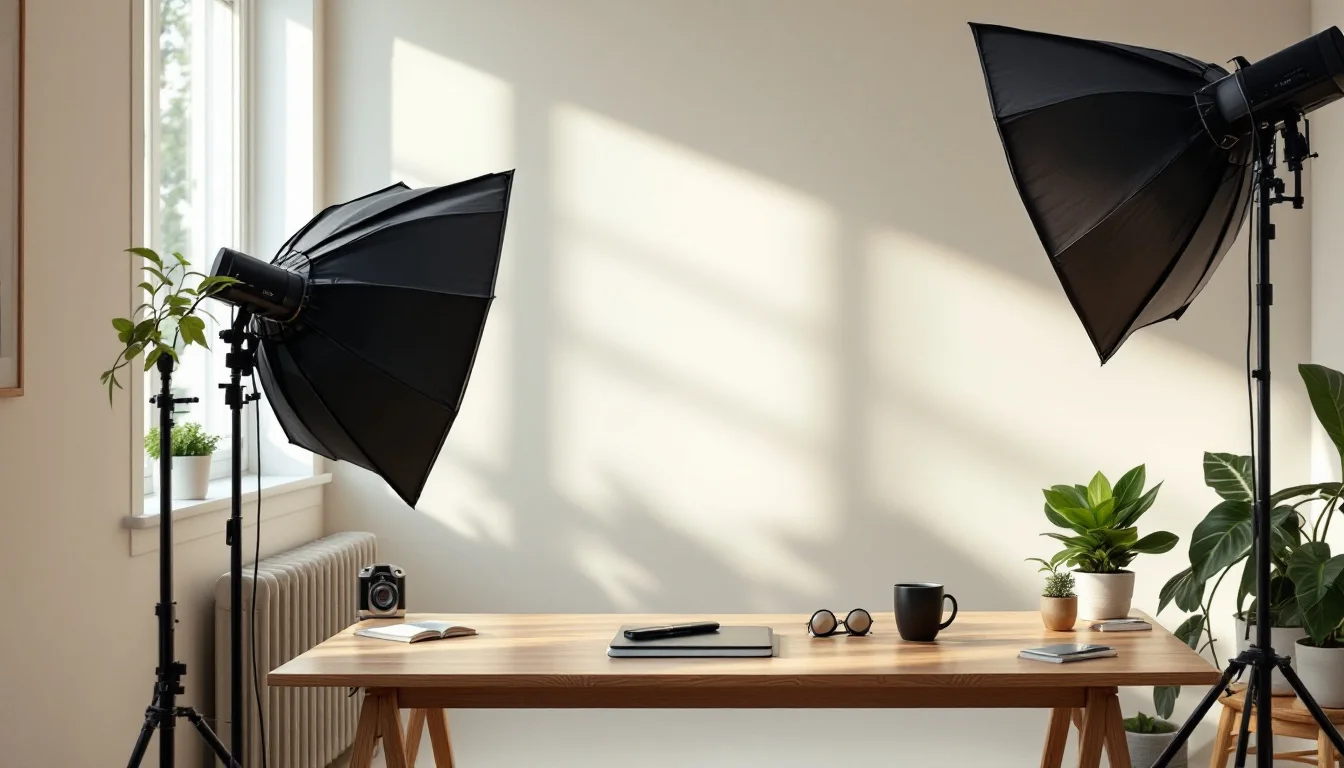
Master Natural Lighting at Home
Window light is your best friend for home photography. Position yourself facing a large window during daylight hours for soft, flattering illumination.
Shoot between 10 a.m. and 2 p.m. when light is brightest but not too harsh. Sheer curtains can diffuse direct sunlight beautifully.
Camera Settings and Phone Techniques
Most modern smartphones can produce excellent results. Use portrait mode and tap to focus on your eyes. Keep your phone at eye level or slightly above for the most flattering angle.
If using a DSLR or mirrorless camera, start with these settings: aperture f/4–f/5.6, shutter speed 1/125s or faster, and ISO under 400.
LinkedIn’s official advice on home headshots also recommends keeping your camera steady with a tripod or stacked books.Posing and Expression Guidelines
Relax your shoulders and tilt your head slightly. Practice a soft, closed-mouth smile and a confident neutral expression.
Take bursts of 10–15 photos at a time, then review and adjust. Small changes in chin position dramatically affect how professional the final image looks.
Essential Equipment Checklist
| Item | Budget Option | Recommended |
|---|---|---|
| Camera | Smartphone | DSLR or mirrorless |
| Tripod | Stack of books | Lightweight tripod |
| Lighting | Window only | Ring light + window |
Final Review Before Uploading
Check each photo for sharpness, even lighting, and clean background. Crop tightly around your head and shoulders, leaving some negative space above your head.
Once you have 10–15 strong images, services like TopShots.AI can quickly turn them into polished, professional headshots ready for LinkedIn or your website.
Good source photos are the foundation of great AI results. The extra effort you put in now pays off immediately in the final images.
Follow these steps consistently and you’ll have reliable, professional-grade photos from the comfort of your own home.
Ready to upgrade your headshot?
40+ professional headshots in under an hour. No studio required.
Get Your Headshots — $29.99