
Headshot Lighting Guide for Beginners: How to Capture Better Selfies for AI Tools
July 9, 2026
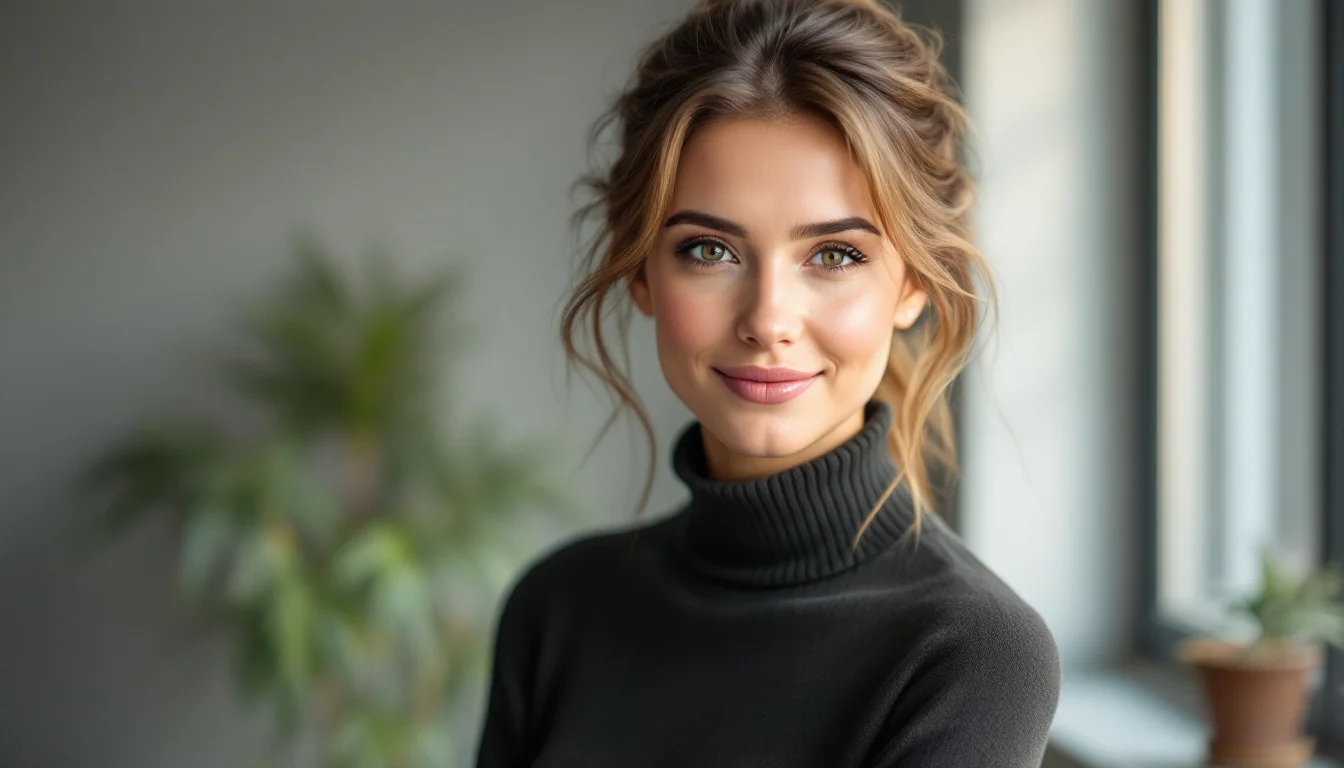
Good lighting transforms ordinary selfies into strong references for AI headshot tools. When your source photos are well lit, the final results look polished and consistent across platforms.
Why Lighting Matters for AI Headshots
AI tools analyze every detail in your uploaded images. Harsh shadows or uneven light can confuse the model and reduce output quality.
Soft, even illumination helps the algorithm understand facial structure clearly. This leads to more natural-looking professional headshots.
Natural Light Basics for Beginners
Start with natural light because it is free and forgiving. Position yourself near a large window during the middle of the day.
Face the window directly so light falls evenly across your features. Avoid standing with your back to the window, which creates strong silhouettes.
Best Times for Natural Light
- Early afternoon provides the softest, most consistent light indoors.
- Overcast days act like a giant diffuser and reduce harsh contrast.
- Avoid direct sunlight right after sunrise or before sunset when angles become dramatic.
Simple Artificial Lighting Setups
When natural light is unavailable, household lamps can work well. Use two lamps of the same brightness placed at 45-degree angles in front of you.
One lamp slightly higher than eye level and the other at eye level creates gentle dimension without deep shadows. Diffuse the bulbs with a white pillowcase or parchment paper.
Common Lighting Mistakes to Avoid
- Overhead ceiling lights that cast dark circles under the eyes.
- Single strong light source from one side only.
- Colored bulbs that tint skin tones unnaturally.
Even lighting is the foundation of professional results. Small adjustments in your source photos often make the biggest difference in the final AI output.
How Lighting Affects AI Results
Clear, balanced light helps AI tools match skin tones and reduce artifacts. Poor lighting often requires more post-processing and can limit style options.
Many users see noticeable improvements after reshooting their selfies with better light before uploading. This step is especially valuable when preparing images for professional use.
For more context on preparing photos at home, see our guide on how to take professional photos at home.
Practical Lighting Checklist
- Choose a bright but soft light source.
- Position light at or slightly above eye level.
- Fill shadows on the opposite side.
- Test shots on your phone before the final session.
- Keep background light consistent with your face.
Once your selfies are properly lit, you can upload them confidently. Try creating your next set with well-lit references using our outfit selection tool to see the difference.
Comparing Lighting Approaches
| Approach | Pros | Best For |
|---|---|---|
| Natural window light | Free, flattering skin tones | Daytime selfies at home |
| Two-lamp setup | Controllable and repeatable | Evening or low-light rooms |
| Single overhead lamp | Quick to set up | Avoid when possible |
Understanding these basics gives you a reliable starting point. Consistent lighting habits make every future session faster and more effective.
Explore how AI compares to traditional methods in our breakdown of AI headshots versus studio photography for additional perspective on results and convenience.
Ready to upgrade your headshot?
40+ professional headshots in under an hour. No studio required.
Get Your Headshots — $29.99